Camera Setup Instructions
Hälsa Cam Features
- Video Flip: Flip your video stream up or down for maximum flexibility
- Day & Night: Never miss a moment, even in complete darkness, with powerful night-vision technology
Description
Power: DC 5V/1A
Status Lights: Solid Red Light: Network malfunction
Fast Blinking Red Light: Wait for network connection
Slow Blinking Red Light: Connecting the network
Reset: Press and hold for 5 seconds to reset the camera (if you have modified settings, they will return to factory defaults)
Installation
STEP 1
Stick the adhesive tape in the middle of the camera bottom.
STEP 2
Put the camera on a clean surface or wall. Please reference the camera wall mount instructions if placing on wall.
Setup After Adding Smart Sensor
Follow and complete the set-up prompts with the Hälsa app, which are also included below for reference.
STEP 1
In the app, immediately after adding your smart sensor, you will be taken to the dashboard and automatically asked if you’d like to set up the camera. Tap “Set Up.”
On the next screen, select “Camera” and tap “Set Up” to begin.
STEP 2
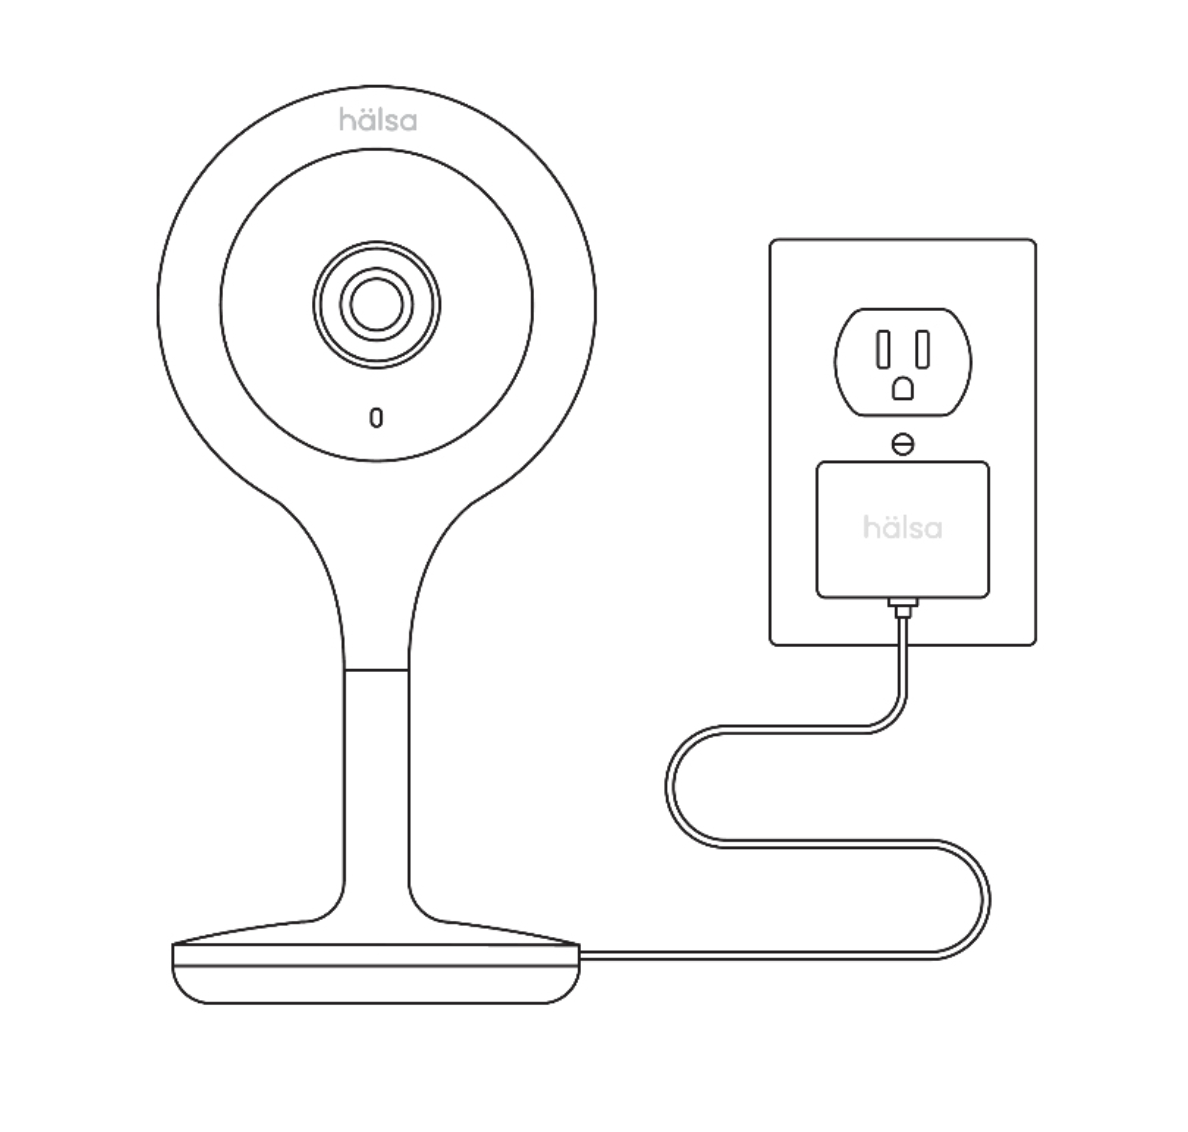
Please power on the device. Place the camera and phone close to your router for the best signal. Tap “Continue.”
STEP 3
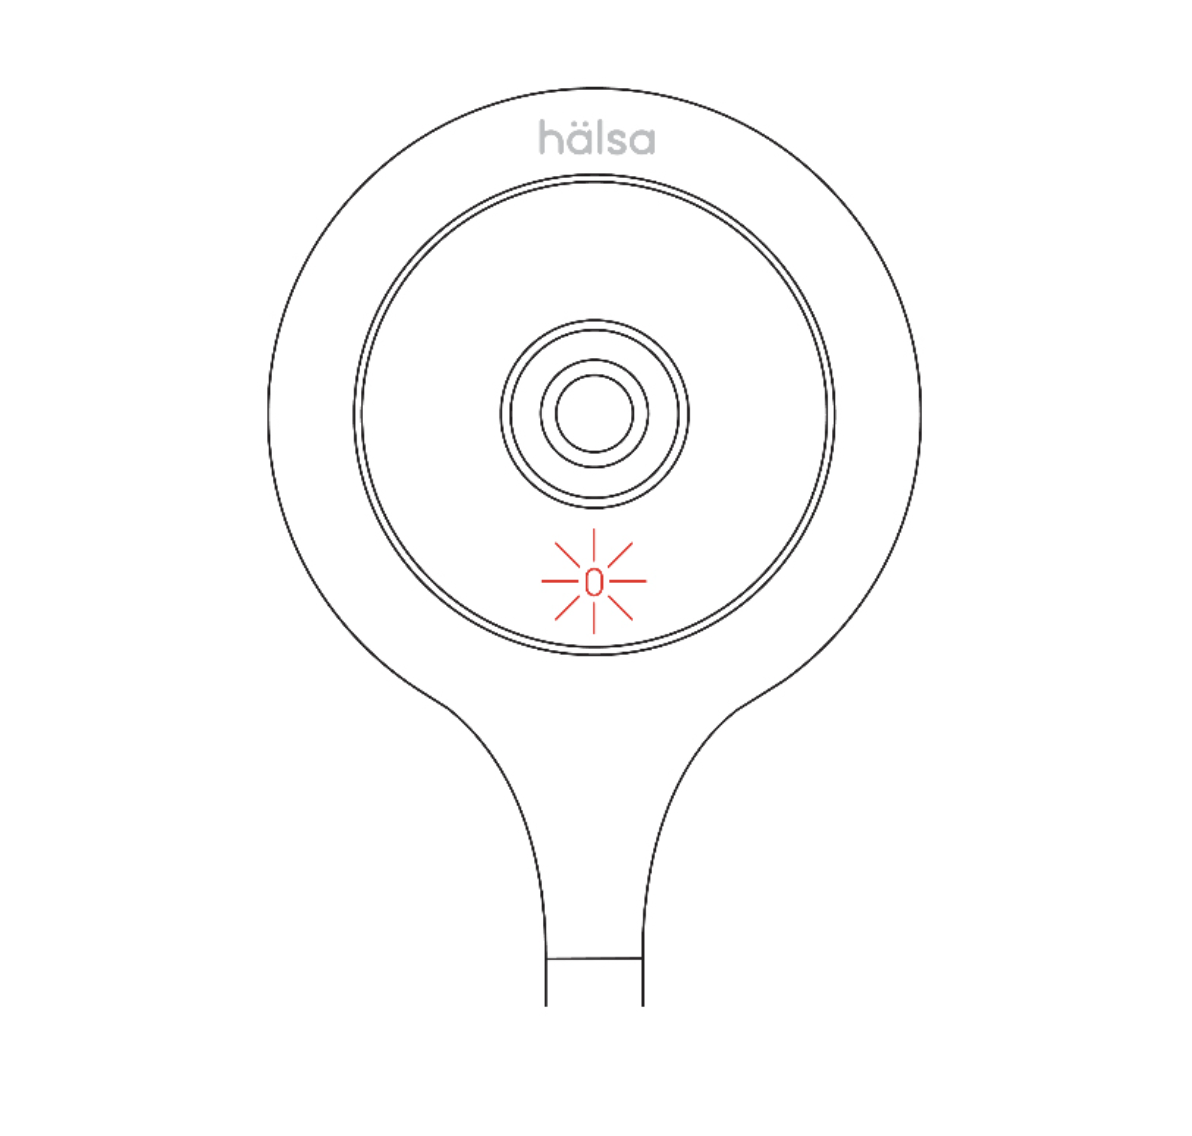
Check the camera’s indicator light. If slowly blinking red, it’s ready to pair. If fast blinking red, it’s trying to connect. Tap “Continue.”
A blue light means it’s already connected, and you need to reset. To reset, press and hold the pinhole.
Tap “Blinking” to continue.
STEP 4
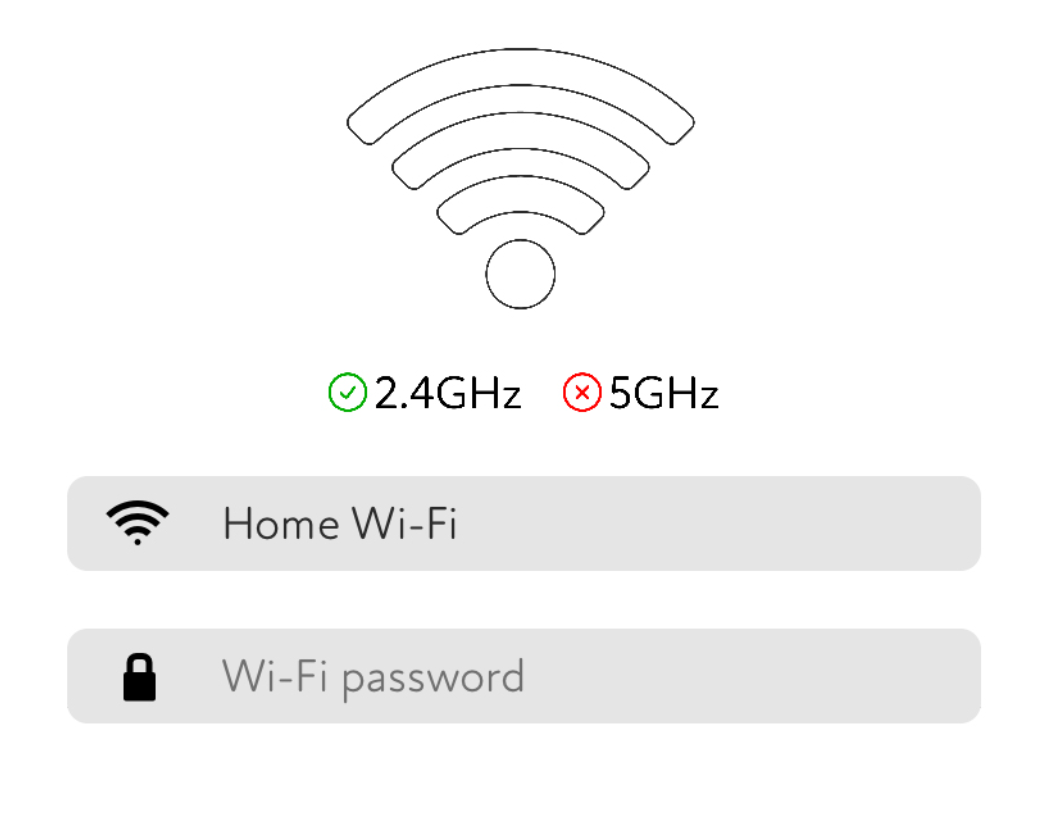
The camera requires your phone to be connected to a 2.4 GHz wi-fi connection. To confirm, go to your phone’s “Settings,” select “Wi-Fi” and scroll until you see your 2.4 GHz network to select. Before continuing, turn off your VPN if you have one. Tap “Continue.”
STEP 5
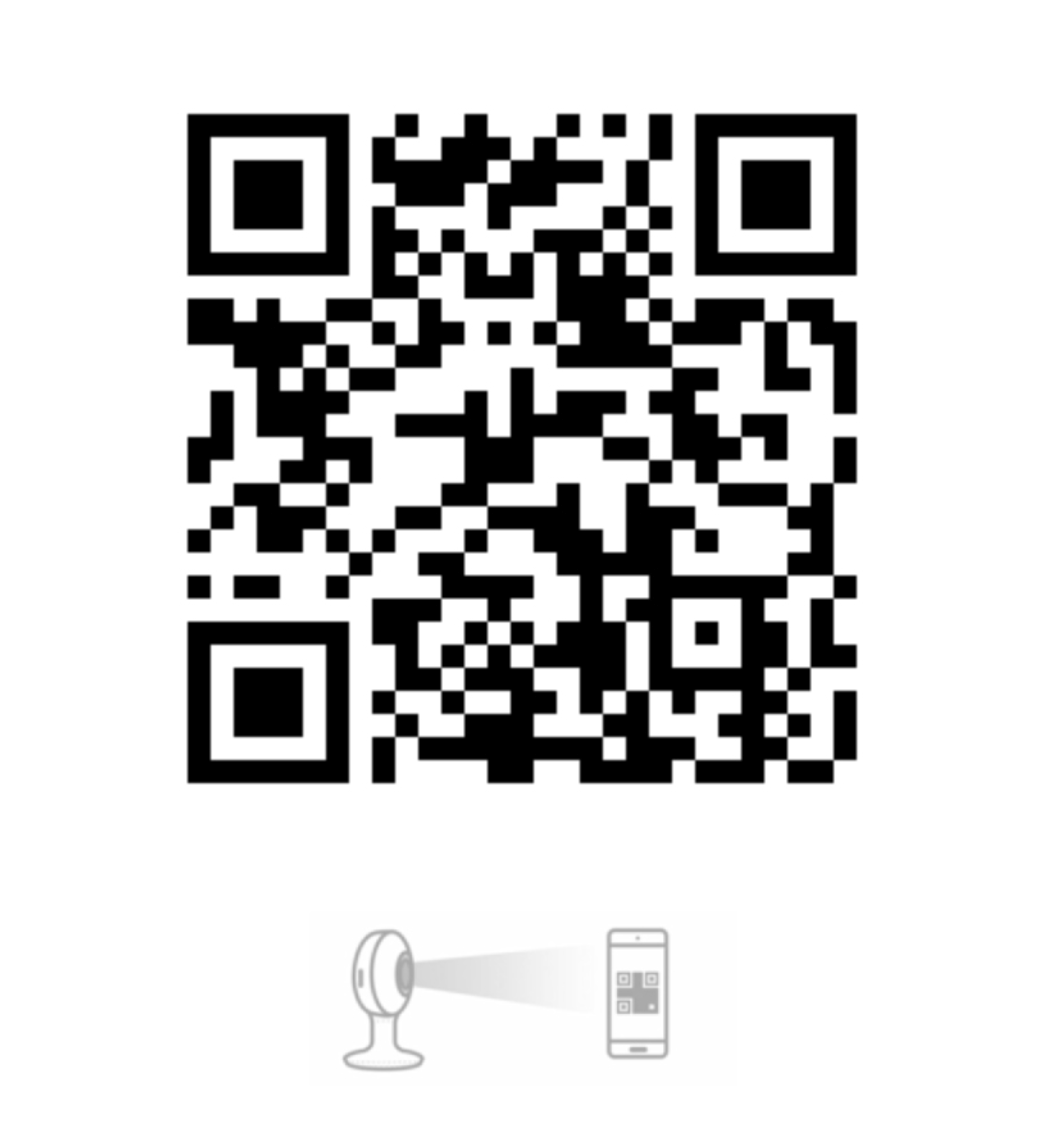
Place the QR code on the screen above 3-8 inches in front of your camera lens.
Place QR code 3-8 inches in front of your camera lens. QR code scanning is successful when you hear 3 beeps and the light on the camera will start to blink red faster.
Tap “Continue” and wait for the camera to register.
CAMERA SETUP COMPLETE!
Next, let’s assign the camera to your child’s profile.
Setup from the Settings Menu
Follow and complete the set-up prompts with the Hälsa app, which are also included below for reference.
STEP 1
Tap “Settings,” select “Devices” and tap “+Add Device.” You will be asked to select the device you would like to add. Select “Camera” and tap “Set Up.”
STEP 2
Check the camera’s indicator light. If slowly blinking red, it’s ready to pair. If fast blinking red, it’s trying to connect. Tap “Continue.”
A blue light means it’s already connected, and you need to reset. To reset, press and hold the pinhole.
Tap “Blinking” to continue.

STEP 3
The camera requires your phone to be connected to a 2.4 GHz wi-fi connection. To confirm, go to your phone’s “Settings,” select “Wi-Fi” and scroll until you see your 2.4 GHz network to select. Before continuing, turn off your VPN if you have one. Tap “Continue.”

STEP 4
Place the QR code on the screen above 3-8 inches in front of your camera lens.
Place QR code 3-8 inches in front of your camera lens. QR code scanning is successful when you hear 3 beeps and the light on the camera will start to blink red faster.
Tap “Continue” and wait for the camera to register.

CAMERA SETUP COMPLETE!
Camera has been successfully assigned.
Camera Settings Access
STEP 1
Tap the full screen icon in the bottom right corner of the video feed.
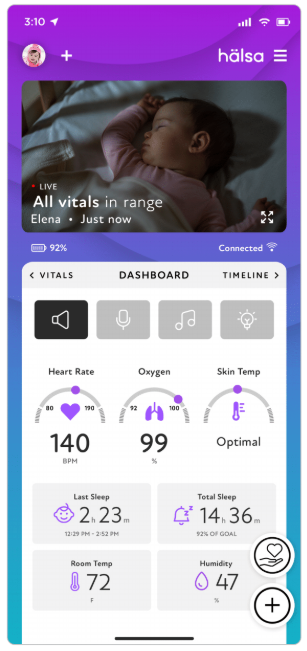
STEP 2
Tap any empty space on the screen to hide the touch sensitive display.The display will hide automatically after 10 seconds of inactivity.
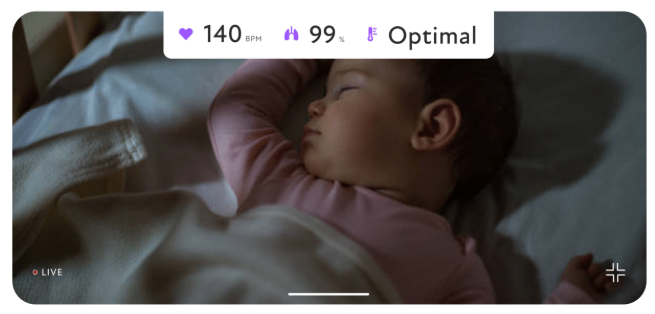
STEP 3
The vitals will continue tobe visible on the screen at all times. Tap on any empty space on the screen to reactivate the display.